


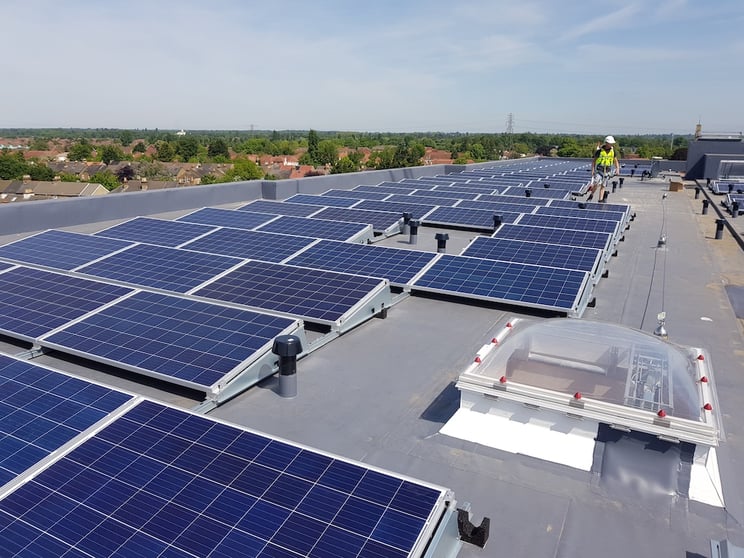
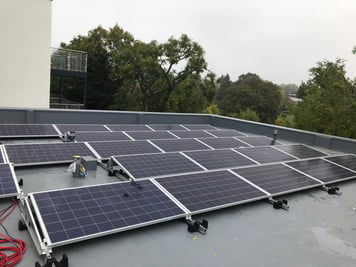
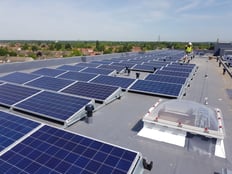
For many commercial flat roofs, we install solar PV with Van der Valk mounting. It’s high quality kit, produced in the Netherlands, that offers flexible layouts, compact ballast, quick install time and affordable prices.
Read on for more on the challenges of flat roof solar and why we recommend Van der Valk.
Ballasting solar panels on flat roofs
On a sloping roof, solar panels are usually fixed at the same pitch as the roof. On a flat roof, you have the option of raising up the panels slightly, so that the annual energy production is improved. In general, an angle of 10 degrees gives the best compromise between maximising solar irradiance and reducing shading between rows of panels.
You can either have panels facing directly south, or set them in a tighter east-west arrangement to maximise the number of panels on a roof space.
 |
 |
| South mounting | East-west mounting |
A flat roof needs to have a pitch of less than 5 degrees to support a ballasted system. If the slope is greater than this, you need to rely on a penetrative fixing system that keeps the panels parallel to the roof and fixes into the rafters.
Naturally, having the solar array raised from the roof’s surface would make the system vulnerable to catching the wind and being blown off (particularly on taller buildings). Therefore it must either be fixed into the roof or weighed down with a ballast to counter any wind uplift.
Flat roofs are already more prone to water pooling on their surfaces, so it’s best not to disturb the waterproof membrane if possible. In most cases we prefer to use a ballasted mounting, which is much simpler, cheaper and less disruptive. Of course, the roof structure must be able to withstand the weight of the ballast, which typically exerts forces of around 35 to 45 kg/m2, depending on a whole range of factors such as the final layout, height of the building and size of the system.
With Van der Valk systems, we use concrete lintels as the ballast. They are placed on rubber carriers to protect the roof surface (and its warranty). The ballast is calculated in the design stage and is distributed with heavier ballast around the edges of the array, getting lighter towards the centre where panels are fixed to each other and supported by the units around the outside.
Van der Valk works well for large flat roof spaces at a commercial level and provides a good value way of installing solar PV without drilling into the roof. However, it does not work so well with very small domestic flat roofs as you typically need a very large ballast to fix only a small number of panels on a small roof area. This means the roof tends to fail the structural sign off if it has not been built with solar PV in mind.
Domestic installations also require planning permission if the panels raise up more than 200mm from the roof edge, which holds true for the ballasted system. Commercial roofs do not have this restriction, but panels do need to be at least 1m from the edge of the roof.
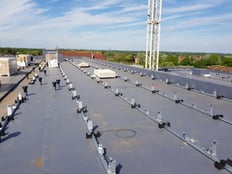
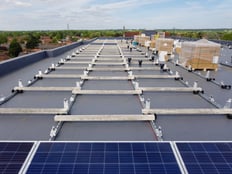
How we install Van der Valk mounting
-
Assemble aluminium feet and rubber tile carriers to the roof carriers (can be done before putting on roof).
-
Arrange the roof carriers on the roof.
-
Add the ballast.
-
Attach side plates if needed.
-
Clamp the panels to the aluminium feet.
-
Add the back panels behind the solar panels.
-
Tidy up cables with clip-on cable clamps.
 |
 |
 |
| The roof carriers | The ballast | The finished result |
Download our guide to solar PV
If you’d like to learn more about the process of installing solar panels, download our free guide for contractors:


