


The majority of our domestic solar PV systems are retrofits - panels installed on top of an existing roof. If you’re curious to see how the process works, read on to get a look behind the scenes of one of our recent installs.
System overview
Last month we installed solar PV for Mr T at his house in Henley. It’s a 14 panel system, totalling 4.76kWp, with a projected annual output of 4,472kWh. Alongside the solar, we also installed Tesla’s Powerwall battery, which will increase his onsite usage of solar power from 26% to 78%. It will also boost the proportion of his annual electricity demand supplied by solar from 23% to 69%.
Powerwall will also allow off peak charging overnight during the winter months, and keep the lights on during a power cut.
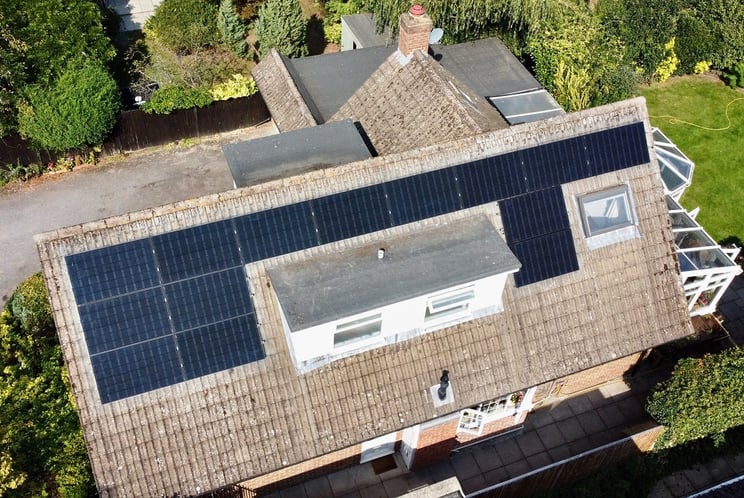
This project is what we call a retrofit, installing the panels on top of an existing rooftop. Like many British roofs, Mr T’s is a pitched roof made of concrete tiles. Learn more about how we mount solar PV on a tiled roof on our rooftop solar page.

Dormer windows
As you can see in the images, we had to fit the PV system around a dormer window. It’s not generally possible to put panels on top of a dormer, as the roof structure isn’t strong enough to support the weight (see more in our blog on domestic flat roofs).
Shading
The dormers also present another challenge with shading.
Our original plan was to have 13 panels in portrait along the top. This would be a 4.1kWp system with an output of 3,960kWh per year:
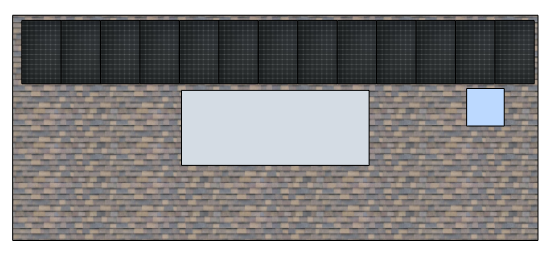
The tech survey showed this wasn’t going to fit, so we had to model a new layout on PVSol:
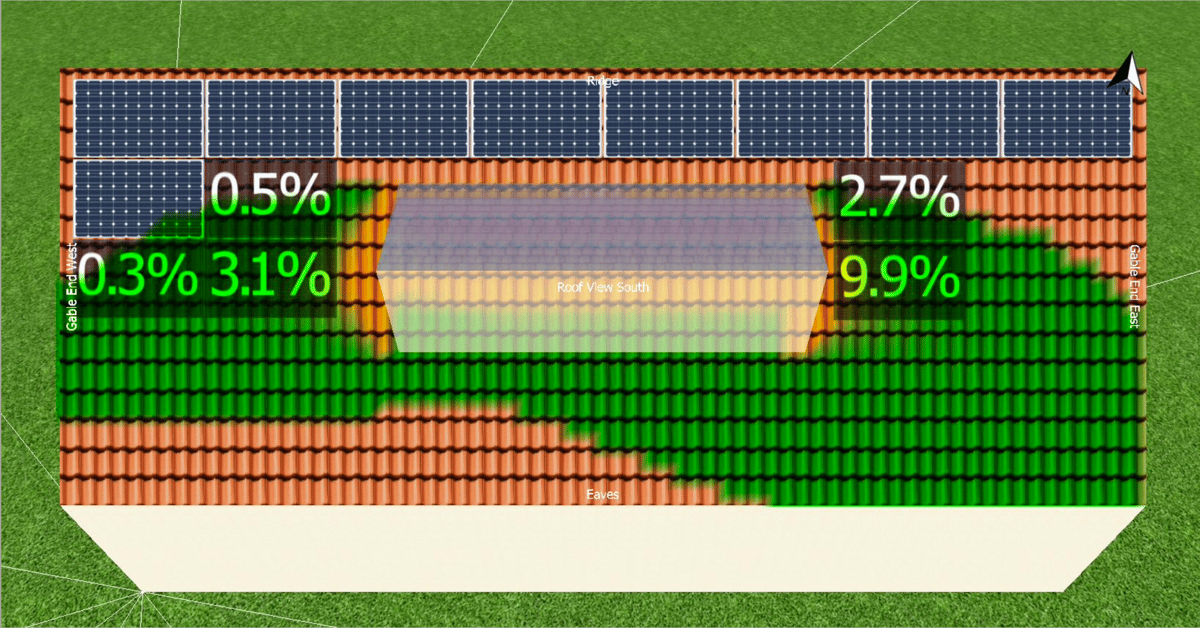
With 14 panels we could have a 4.8kWp system, generating 4,472kWh annually, with only a 4.4% yield reduction due to shading.
We also modelled this layout with SolarEdge optimisers. Again the system is 4.8kWp, but would generate 4,713kWh annually, with 3.5% yield reduction due to shading.
With SolarEdge, the output would be about 5% greater, and so we advised that it wouldn’t be worth the extra cost in this case. As the shaded rows of panels could be wired on a separate string to the top row, this would minimise the impact of the dormer shading.
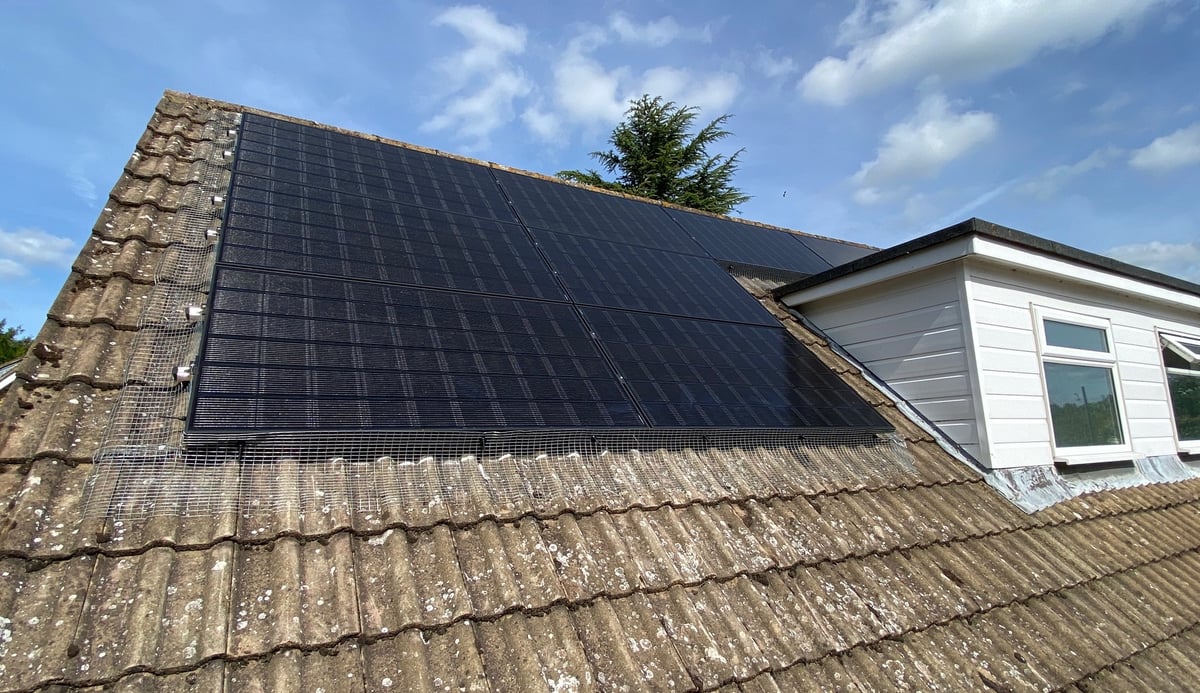
Pigeon protection
While installing this system, we also fitted pigeon protection. This consists of a specialist metal mesh around the edges of the array, preventing any birds from nesting under the panels and avoiding damage to the solar cells. It’s a lot cheaper and easier to do this while scaffolding is already in place, rather than a few years down the line after any feathered guests have moved in!
Performance
In the first four weeks the panels have produced 444kWh and Mr T has only used 34kWh from the grid, meaning he has been over 90% self-powered.
Mr T said, “We have been very satisfied with Spirit Energy. Their advice at the planning stage was brilliant. They assigned a personal project manager who kept us informed all through the process. The installation is neat and tidy and, so far, has exceeded our expectations.”
Learn more about solar
If you'd like to find out more about solar installations, please download our free guide:


